Deskbuddy Portal
In the Deskbuddy portal, you can configure various settings for your calendars, display and speaker options, among others.
Calendar Settings
It is possible to make changes to the appearance of your active calendars and delete any that are no longer needed. To do this, click on the Calendars option in the left hand menu on the portal.
Edit Calendar
To edit any of your calendars, click on the pencil icon located on the right-hand side in the same row as the calendar you wish to edit.
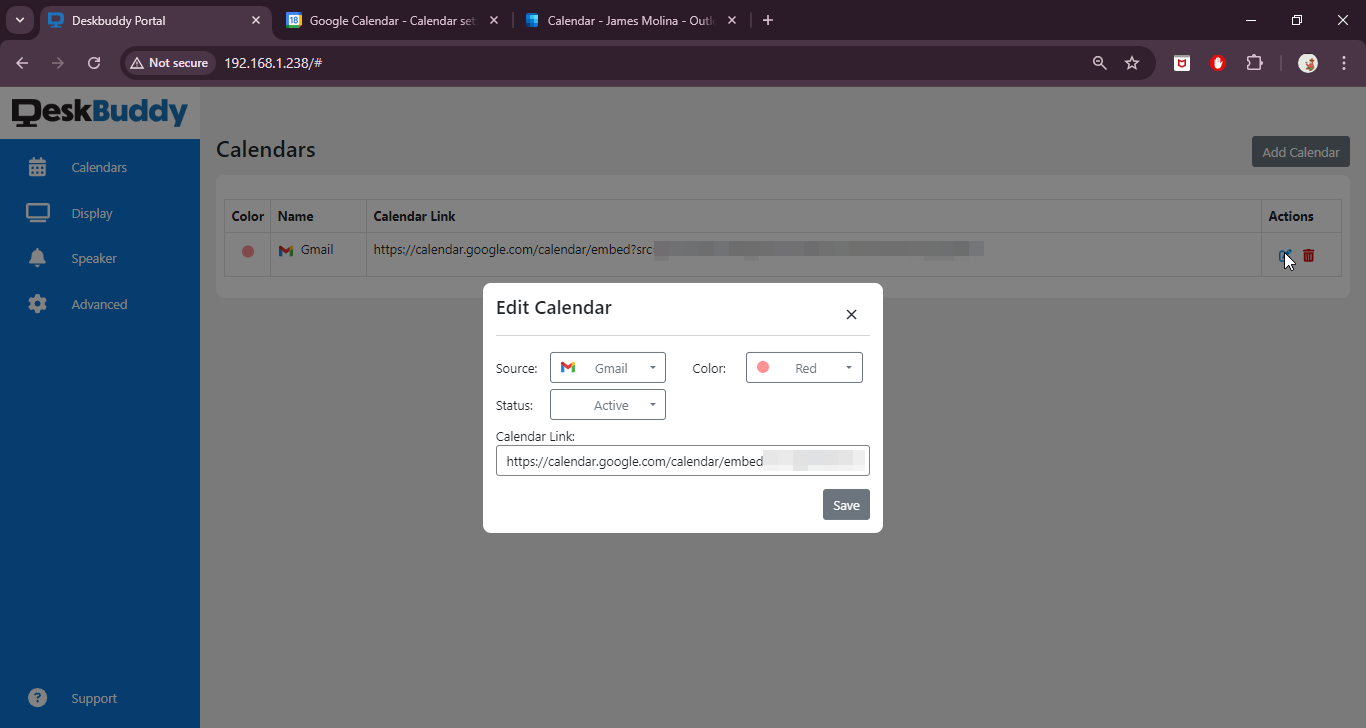
In the pop-up that appears, you have two options.
1. You can change the colour that is used to display events from that calendar on your Deskbuddy, using the Colour dropdown option.
2. You can make your calendar Inactive using the Status dropdown. This can be useful if you don't currently want to display this calendar's events on your Deskbuddy, but don't want to delete the calendar, in case you might need it again in the future.
Delete Calendar
To delete an unwanted calendar, click on the trash can icon located on the right-hand side in the same row as the calendar you wish to delete.
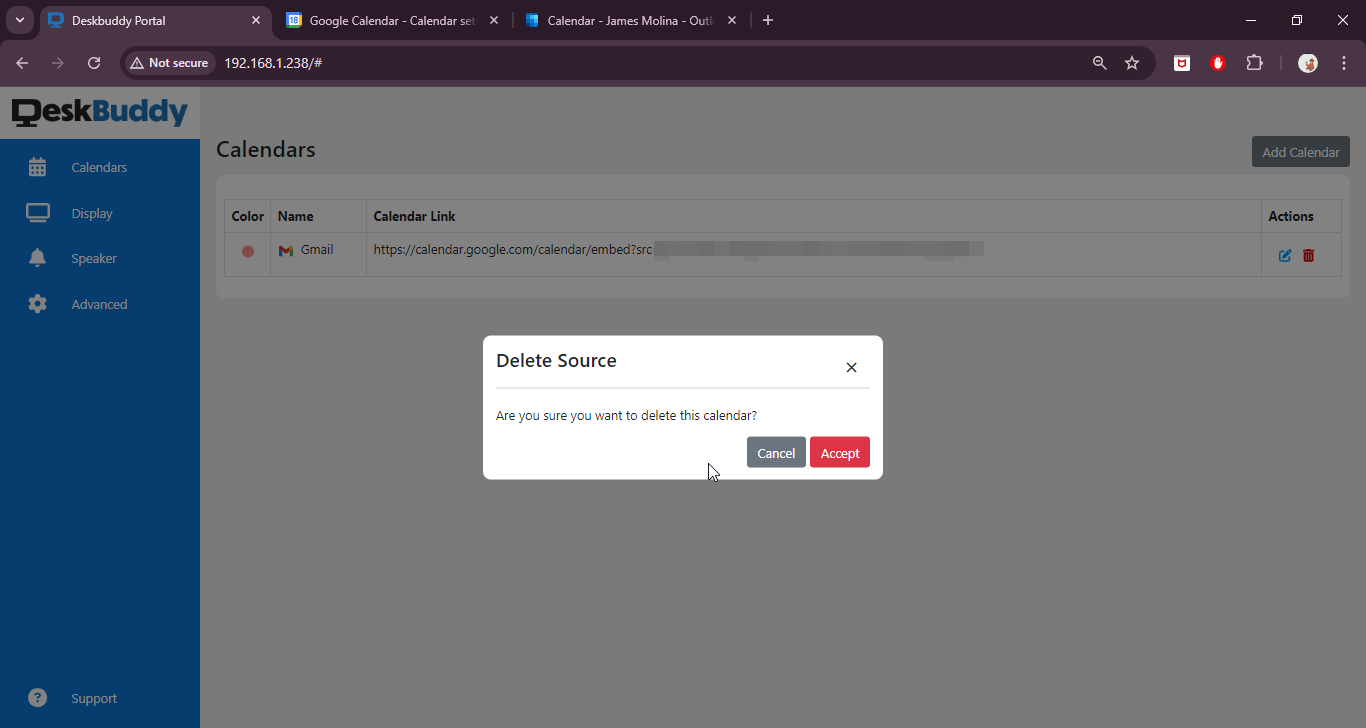
In the pop up that appears, you can either click the Accept button, to go ahead and delete the calendar, or click the Cancel button if you have changed your mind.
Display Settings
The Deskbuddy portal allows you to configure your Deskbuddy Display. To do this, click on the Display option in the left hand menu on the portal. There, you can modify various properties of the Deskbuddy, including brightness, 12/24-hour clock format, adding a logo on the Deskbuddy screen, and others.
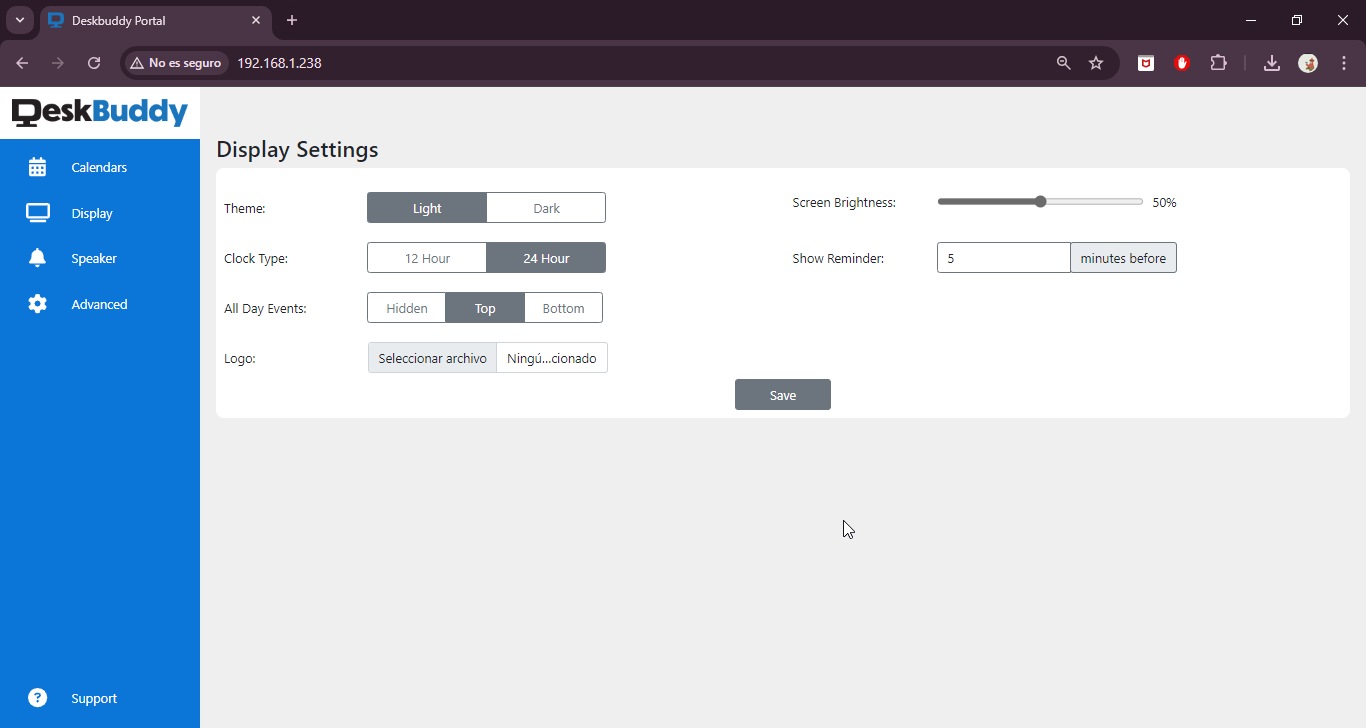
1. Theme: - You can click to choose whether to have your Deskbuddy displayed in Light or Dark mode. See Calendar Events for examples of how these modes look.
2. Clock Type: - This setting allows you to click to determine whether your calendar events are displayed in a 12 hour or 24 hour format.
3. All Day Events: - You can use this setting to decide whether or not all day events will be displayed on your Deskbuddy, and if so, where they will appear. Simply click on the option that best suits you.
4. Logo: You can use this option to add a logo to your Deskbuddy. Simply click on the Choose File button, and then you can browse your computer to find the image that you will be using as your logo. Please note: image files need to be precisely 300 pixels wide and 100 pixels high to be uploaded - any other image size won't work.
5. Screen Brightness: - you can use the slider to adjust the brightness of the Deskbuddy display, to suit your needs. Note - the changes will only be reflected on your Deskbuddy when you click the Save button at the bottom of this screen - you won't see the Deskbuddy display changing as you move the slider up and down.
6. Show Reminder: By default, the reminder time for your events will be set to 5 minutes, but you can modify this here, to whatever length of time before the meeting that you want the reminder to be displayed.
Important: When you have finished making changes on this screen, always click the Save button at the bottom of the screen, so that your Deskbuddy can be updated with the new settings that you have just put in place.
Speaker Settings
The Deskbuddy portal allows you to configure the speaker settings for your Deskbuddy. To do this, click on the Speaker option in the left hand menu on the portal. From there, you can adjust the volume, enable or disable tones, select tones, and upload custom tones.
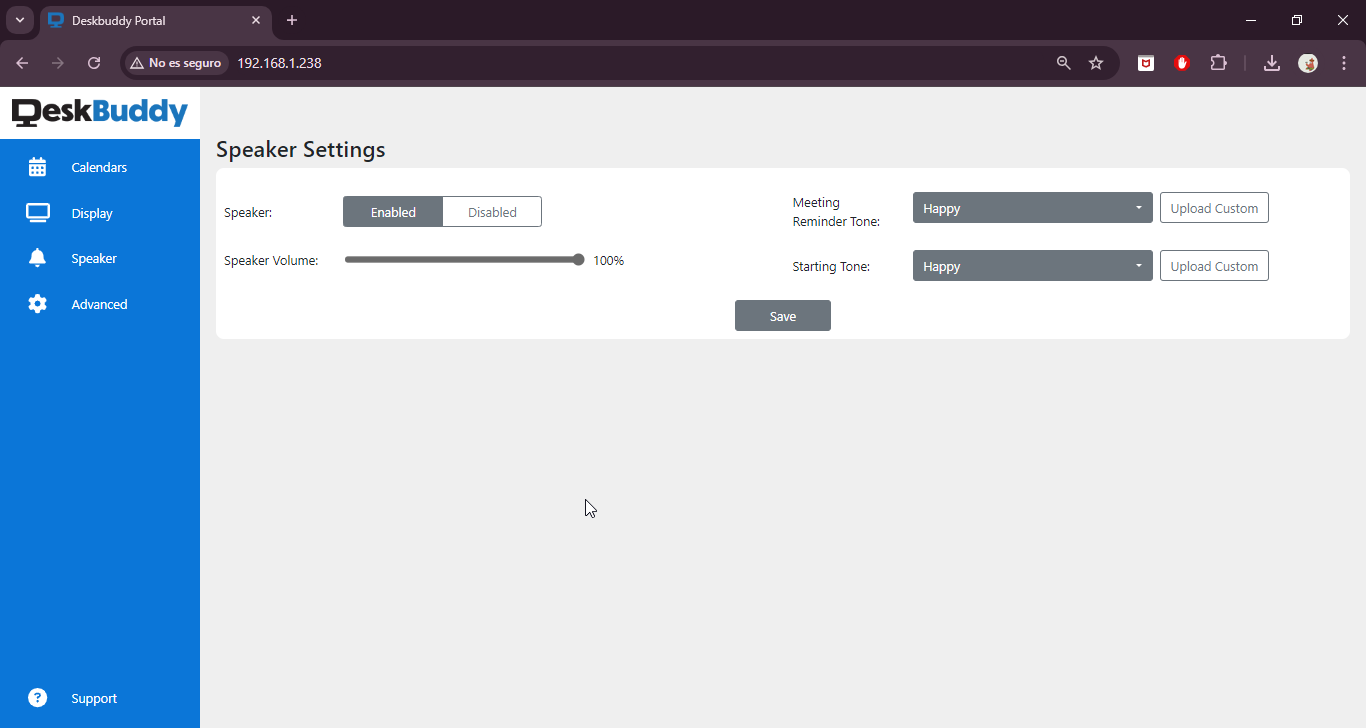
1. Speaker: - You can use this option to determine whether or not you want your Deskbuddy to make noises, by clicking on either Enabled or Disabled.
2. Speaker Volume: - If your speakers are enabled (see step 1), then you can use the slider here to adjust the volume of the sounds coming out of your Deskbuddy. Note - the changes will only be reflected on your Deskbuddy when you click the Save button at the bottom of this screen - you won't hear any changes in the volume as you move the slider up and down.
3. Meeting Reminder Tone: - You can use this option to either select one of the default sounds or upload your own sound for the notification tone.
a. To choose from the default sounds, simply click on the dropdown option to see what is installed - you will notice that there is a play icon next to each sound name, and you can click on these for a preview of how they sound, before selecting the sound you want.
b. To upload your own sound, simply click on the Upload Custom button, and then browse your computer for the sound file you wish to use. Note: Files need to be in mp3 format, and can be no more than 65kb in size.
4. Starting Tone: - You can also set a tone to use when your meeting is starting. This is done in exactly the same way as you set the Meeting Reminder Tone (see Step 3 above).
Important: When you have finished making changes on this screen, always click the Save button at the bottom of the screen, so that your Deskbuddy can be updated with the new settings that you have just put in place.
Advanced Settings
The Deskbuddy allows you to configure some advanced settings. To do this, click on the Advanced option in the left hand menu on the portal. There, you can modify the Deskbuddy's time zone, restart the Deskbuddy, reset the WiFi, or restore the Deskbuddy to factory settings.
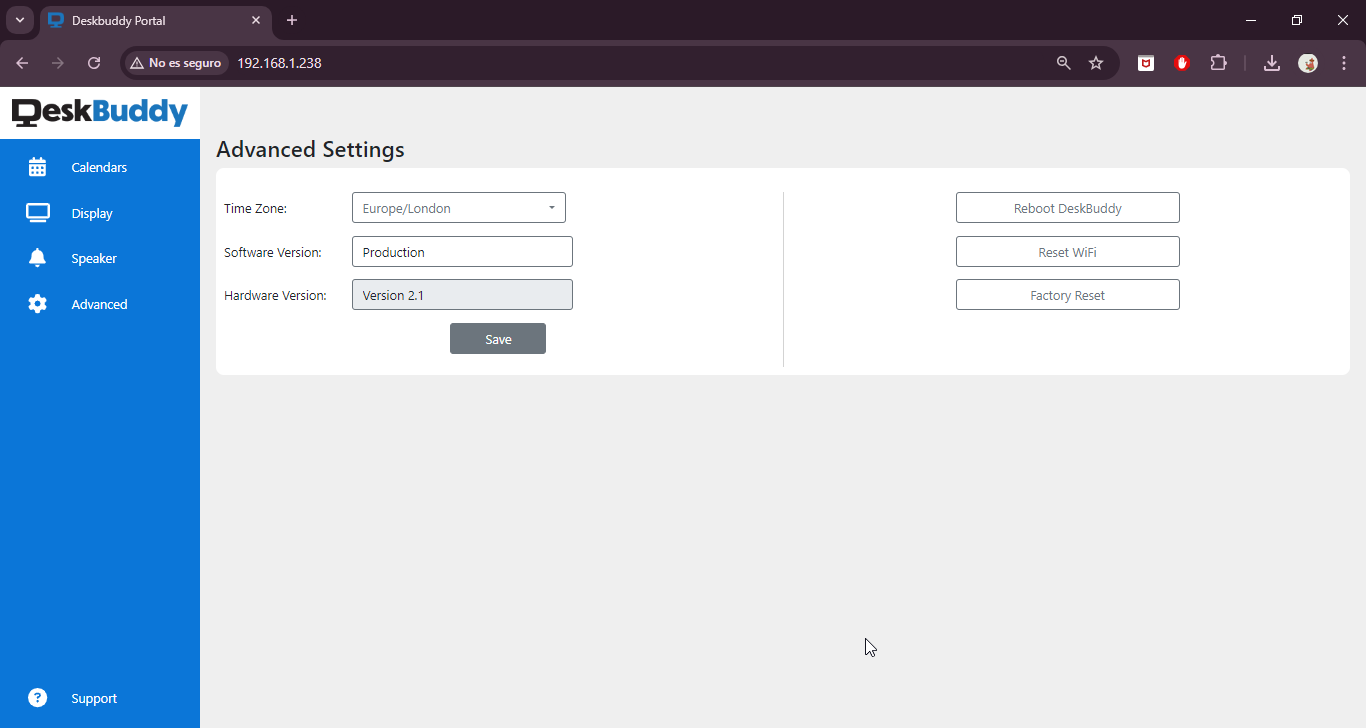
You can use this page to update your time zone settings (which will default to Europe/London) to ensure that your calendar events display correctly on your Deskbuddy. Simply use the dropdown menu to choose the correct time zone for where you live, and then click the Save button, to update your Deskbuddy.
There is also the option to change the software version for your Deskbuddy. Important - do not change this unless instructed to by a member of the Deskbuddy team, as changing this setting could result in your Deskbuddy failing to work correctly
There are the following four buttons on the right-hand side of the Advanced screen:
Change Pin - This allows you to overwrite the PIN that was issued to you with the Deskbuddy, to make it something more memorable for you.
Reboot Deskbuddy - Should your Deskbuddy not be behaving as you would expect, a reboot of the software may help. You can do that using this button.
Reset WiFi - If you change your WiFi provider, or if something has changed in your WiFi set-up in your home or office, then this button will allow you to start again with the WiFi connection on your Deskbuddy, to get you back connected.
Factory Reset - If you want to set everything back to how it was when you first opened your Deskbuddy, so you can start again with your set-up of the device, click this button.